In June 2015, Adobe introduced a great new feature in both Lightroom and Camera Raw – a dehazing slider that dramatically reduces haze and improves contrast in photos.
Initially available in the Creative Cloud versions initially, Adobe indicates that the standalone versions will get this feature in future major updates.
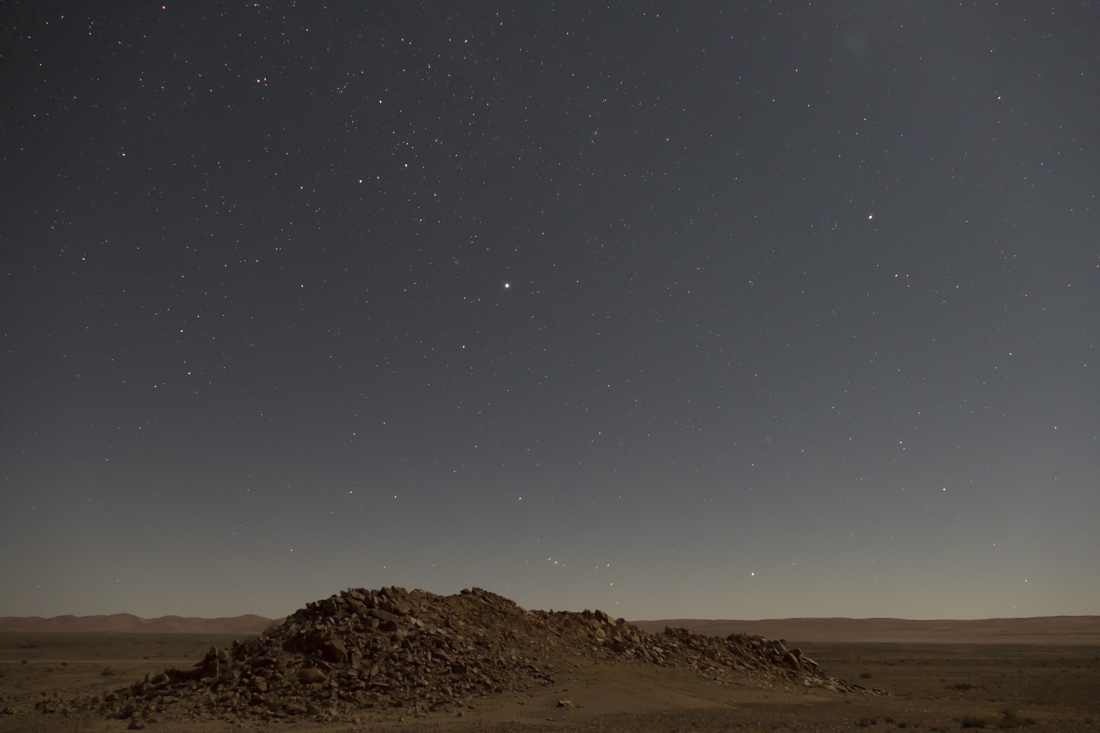
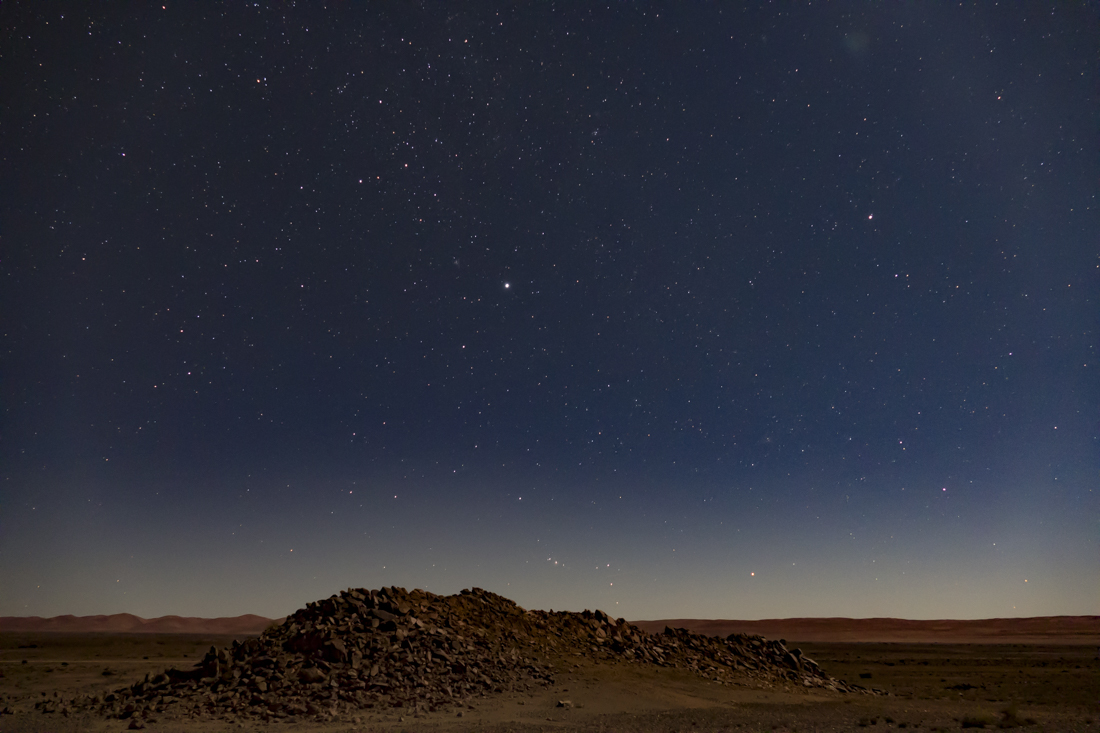
Haze is an ever-present issue in lots of landscape photographs, due to fog, smog or anytime there’s a lot of air between you and your subject. Nighttime photos of stars often pose one of the biggest challenges for photographers. Dust in the atmosphere can scatter the light enough to dim all but the most brilliant stars. It’s not always possible to shoot in the best conditions.
Now, at last, there’s a pretty easy fix for making things right. Have a look at these comparisons – all edits from the same photo taken just before dawn in the Namibia desert:

Be sure to use the dehaze slider in conjunction with other edit tools you have at your disposal, such as exposure adjustment, shadows, clarity and saturation, if you don’t quite get the effect you want with the dehaze slider.
Check that you have the latest versions of any of Camera Raw (and by default, Photoshop, since CR comes with Photoshop) or Lightroom, Creative Cloud versions. This update came out in mid-June, so check your software to make sure you’re current.
In Lightroom as well as Camera Raw, look for the Dehaze slider in the Effects area of the program. You can add haze if you want that effect too!
Here’s a 4 minute video from Adobe explaining how to use the filter in Photoshop/Camera Raw: